
Bucket list scrapbook: list first, then a page for each item
Write the numbered list on the first page, reserve a page for each item, and fill a page only when its item is done. New items join the end of the list with the date they were added.
The reserved pages do the tracking. Leafing through shows which items are done and which pages are still waiting, without a separate checklist.
Number items in the order you add them, not by importance. New ideas then go at the end and nothing has to be renumbered.
Make the memory book together
Invite people to send photos and their own words, then choose what goes in the book.
The list page
Give each item a number, a short factual title and the date added. Leave a completion-date column and a page-reference column so items can stay indexed if the book grows.
Write each item so you would know when it is done. A named place, event or skill works; a general hope does not give you a day to mark.
- Mix items you could do this year with longer ones, so pages start filling.
- Keep costs and planning notes in a separate notebook, not on the list.
- Write in pen, so struck-through items stay readable.
Reserve a page per item
In a paper album, add a page carrying only the number and title for each item, or a tab on the edge. In a digital book, add a blank page per item in list order.
If a blank page for every idea makes the book too large, index the whole list first and add completed pages as needed. Keep the item number on each new page.
Fill a page when an item is done
Put something from before beside the photos from the day: the booking screenshot, the leaflet that gave you the idea, or the note where you first wrote it down.
Then mark the list page with the date done. The tick and date are enough there; the item's own page holds the rest.
When the list changes
Some items stop appealing. Strike them through rather than erasing them, and either reuse the reserved page or leave it blank.
Things done before the book existed can still have a page, marked with the year they happened, so the list shows everything you have done from it.
Changing an item without losing its history
If a plan changes, date the change beside its item number. Keep the old wording readable only if you want that history; the scrapbook need not preserve plans you prefer to remove.
Pages to make
List spread
The numbered list on the left with date-added and date-done columns. On the right, a photo taken the day you started the list.
A reserved page
Only the number and title at the top, with a light pencil outline where photos will go. It stays like this until the item is done.
A completed item
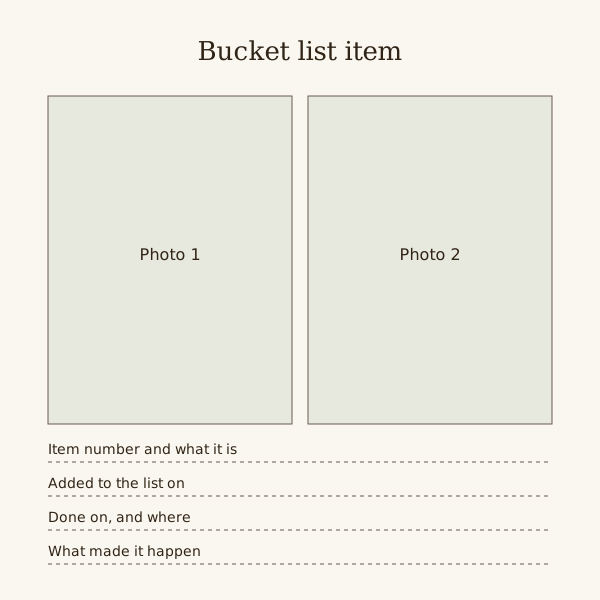
Two photos from the day, the ticket or booking, and the before item. Date and place go under the title; your account goes at the foot.
Changes over the years
A page near the back recording which items were struck off and which were added each year, so the front list stays readable.
Questions
What goes in a bucket list scrapbook?
The list, then for each completed item photos, tickets, the date and your own account. Something from before, such as a booking screenshot, shows how it came about.
What if the list is never finished?
It can remain open-ended. Add pages as items happen, and remove or change a plan when you want to. Empty reserved pages are optional.
Can two people share one bucket list book?
Yes. Put the initials of whoever suggested each item in the margin, and agree how to handle items only one of you wants to do.