
Disney scrapbook ideas, one park day at a time
Give each park day a spread: the route on a map, a few ride photos, one character meeting with its signature and the last thing you did. Use your own photographs rather than logos.
Sort the photographs by day before anything else. Phone photos carry the date and time, so a week of park days falls into order before you choose a single one.
A long trip makes a thick book. Pick three or four photographs per day for the page and keep the rest in a folder named by day.
This is an independent craft guide. Use your own trip photos and keep a note of where scans or downloaded images came from before deciding how the book will be shared.
Make the memory book together
Invite people to send photos and their own words, then choose what goes in the book.
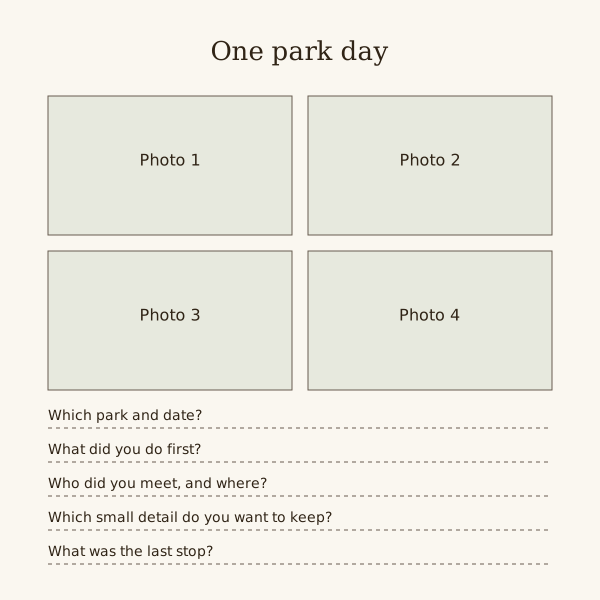
Sort the trip by park and by day
Put the park name at the top of each day. A pool day or a hotel morning can share a spread with the travel days.
Keep the order the rides happened in. A route drawn in pen on a map tells the day with fewer photographs.
- Name each folder with the date and the park so photos stay in order.
- Keep a queue-time screenshot only if the wait became part of the story.
- Note the time of any parade or show you watched.
Character signatures and the meeting photograph
One autograph book, or a single card per character, keeps signatures together on the trip. On the page, put each signature beside the photograph of that meeting.
Let pen on glossy card dry before closing the book. For a digital book, photograph each signature page flat in daylight.
- Write where each character was met.
- Keep a child's own writing beside the signature if they added any.
Paper and plastic from the parks
Maps, receipts, show times and the hotel key card fill pockets fast. Keep one of each kind and photograph the rest.
A plastic key card or a band is too thick for most pages. Photograph it, or keep it in a pocket page at the back.
- Remove booking references, barcodes, contact details and account identifiers from shared copies.
- Trim a paper map to the part you actually walked.
Ride photos
Your own ride photographs are often blurred by speed or dark. If you bought the on-ride pictures, use one large and put your queue and exit photographs around it.
Several trips, one park
For a return visit, use the same page order as the earlier book: entrance, a chosen activity, people and leaving. Put dated views of one place side by side.
Keep the park name and visit date with each photo set. A separate year divider prevents two visits being mixed when the same clothes, signs or rides appear.
Pages to make
Arrival
The hotel or the park gate, the first group photograph and the ticket with its codes removed. Add the date and the weather.
One full park day
A map with the day's route in pen, three ride or show photographs in order and one food photograph, with the park name across the top.
Characters
Signatures grouped on one spread, each beside the photograph of that meeting and a note of where it happened.
The last evening
The fireworks or the last ride, the walk out of the gate and something bought on the way. Finish with the date you went home.
Questions
How do I make a Disney scrapbook from hundreds of photos?
Sort by day, choose three or four per day for the page and keep the rest in dated folders. A route on a map can stand in for many ride photos.
Where do character signatures go?
Beside the photograph of the meeting they came from. Collect them in one autograph book on the trip, then scan or photograph each page.
What should I remove before sharing the book?
Check every ticket and screenshot for booking numbers, barcodes and account details. Keep a private original and share a separate checked copy.