
DIY photo album: pages, hinges, spacers and covers
Cut pages from heavy card, give each a hinged stub so it turns flat, add spacers at the spine to match the thickness of the photos, then bind the stack between two covered boards.
A handmade album fails in two predictable ways. Pages that do not hinge snap back and crack at the spine, and photos add bulk at the outer edge so the book fans open.
Both are solved before any photo goes in: hinged pages and spacer strips. The rest is choosing card, sizing the pages and fixing prints without glue.
Make a digital scrapbook
Add your photos and keepsakes in tbf scrapbook, then arrange them on the pages.
Size the pages around the prints
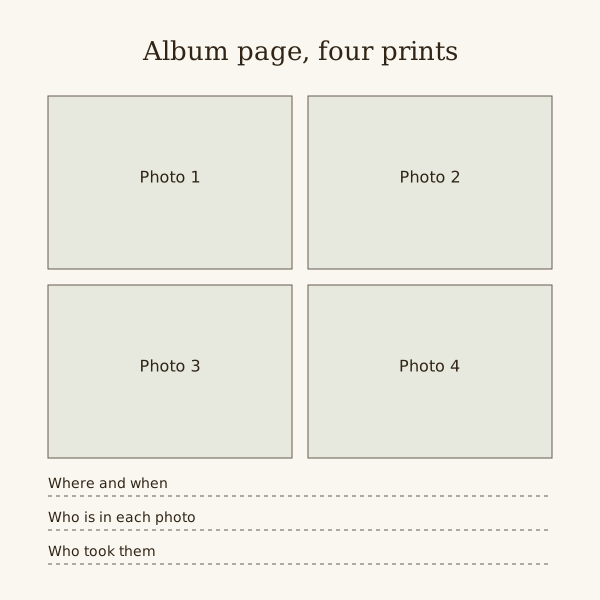
Decide the print size first. An upright 8 by 10 inch page takes two 6 by 4 inch landscape prints stacked, with an inch of margin top, bottom and sides.
Use card of roughly 250 to 300 gsm so a page holds photos on both sides without bending. Thinner card works for a small album with one print per side.
Hinge every page
Cut a stub strip about 2.5 cm wide from the same card for each page. Leave a 3 to 4 mm gap between stub and page, and bridge it on both sides with cloth tape or strong paper.
The stub is what gets bound; the gap is where the page bends. Pages hinged this way lie flat when open and do not tear along the binding holes.
Add spacers for the thickness of the photos
Photos and corners make each page thicker at the outer edge than at the spine. Without spacers, a full album will not close flat.
Stack three finished pages and measure the thickness at the outer edge and at the stub. Add card strips the width of the stub between pages until the two match.
The National Archives warns against overstuffing albums, with too many items on a page or too many pages in one book. Stop adding pages when the screws or ties are full.
Fix photos without glue on the print
The Library of Congress advises against self-adhesive tape, glue and other adhesives on photographs, and against magnetic or self-adhesive album pages.
Photo corners hold a print by its edges, so no adhesive touches the image. Choose corners and card sold as passing the Photographic Activity Test, known as the PAT.
- Slot corners: cut four diagonal slits in the page and tuck the print corners in.
- Glassine or tissue between pages stops facing photos rubbing.
- Write names on the page beside the print, not on the photo.
Covers and the binding
Cut two boards of 2 mm greyboard a few millimetres larger than the pages on three sides. Cover each in book cloth or heavy paper, folding the edges round and gluing down a lining sheet.
Screw posts or two ribbon ties through holes in the stubs let you add pages later. Punch the stubs, spacers and back cover together so the holes line up.
Steps
Cut and score
Cut pages and stubs from one sheet of card per page. Lay each pair on a cutting mat with a 3 to 4 mm gap and tape the hinge on both sides.
Mount a test page
Fix the prints on one page with corners. Stack it with two blank pages, measure both edges, and cut spacer strips to make up the difference.
Make the covers
Cover both boards, lining the inside to hide the turned edges. Score the front board 2.5 cm from its spine edge so it opens like the pages.
Punch and bind
Clamp covers, stubs and spacers in a stack and punch two holes through all of them. Fit screw posts or tie ribbon, then mount the rest of the photos.
Questions
What paper should I use for a DIY photo album?
Card of about 250 to 300 gsm for the pages. Choose card and corners described as passing the PAT, the test for materials that sit against photographs.
Can I glue photos into a handmade album?
Not originals. The Library of Congress advises no glue or tape on photographs. Use corners, slots or a sleeve, and glue only printed copies.
Why does my handmade album not close?
The photos make the outer edge thicker than the spine. Add card spacers between the stubs until the spine is as thick as the mounted edge.