
Funeral photo collage: choosing photos and making the board
Check the venue's board size and viewing distance, choose copies from the parts of the person's life you want shown, then test a paper arrangement. Keep faces readable and return borrowed originals.
The board is usually put together in the days before a service, from photos borrowed from several homes. Copies keep the originals safe and let the family keep the board afterwards.
Ask the funeral director or venue early whether there is an easel and what size of board it holds. That answer sets the size of everything else.
Make the memory book together
Invite people to send photos and their own words, then choose what goes in the book.
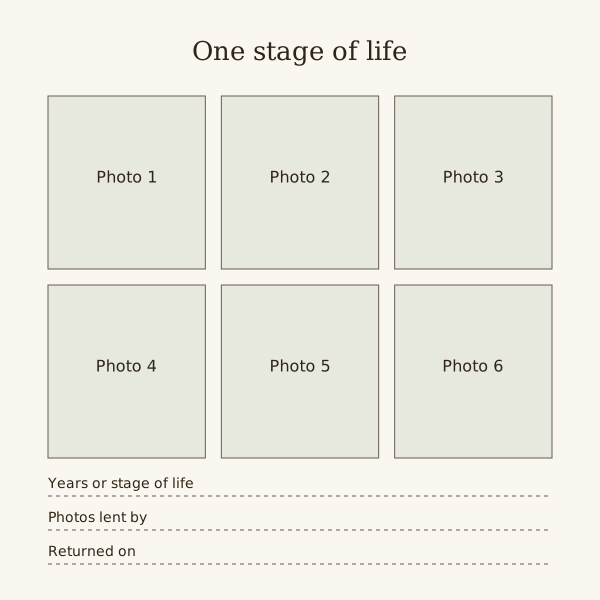
Choose a set that fits the space
Spread the choice over the whole life, not only recent years, which phones tend to cover well. A rough count by decade shows the gaps quickly.
Ask older relatives and friends for the early decades: childhood, school, first job, early married life. These photos are often in albums in other houses.
- One clear face photo for each decade.
- Some with people who will be at the service.
- Work, a hobby, or a place they went back to every year.
- Where two photos are nearly the same, keep the sharper one.
Board and print sizes
Ask for the usable board dimensions, including the frame or easel grip. Make paper rectangles the size of your proposed prints and arrange them before ordering copies.
Begin with one main portrait and a small set of supporting pictures. Add a second board if needed instead of shrinking faces until guests cannot recognise them.
Before ordering, tape one print to a wall and step back three metres. If you cannot make out faces, print the main photos at 7 by 5 or 8 by 10 inches.
Labels and order
Group photos by decade or stage of life, running left to right or top to bottom. A short printed label above each group is enough for people to follow.
Names under group photos help guests who did not know everyone. Check spellings with a relative before printing.
Fix prints with removable mounting tabs rather than glue, so they can come off later for an album or for relatives who asked for one.
Borrowing and returning originals
Scan or photograph each borrowed print the day it arrives, then return it. Keep a list of the lender, the number of photos and the date they went back.
Do not write on the back of a borrowed photo. Keep each lender's prints in an envelope with their name on it until they are returned.
A handover list for the day
Write down the board dimensions, who transports it, who sets it up and who takes it home. Check any fixing or display restrictions with the venue.
Put the list of borrowed prints with the organiser's copy. Keep a separate file of scans so a board can be remade without borrowing the originals again.
Pages to make
Top band: early years
Choose the earliest photos the family wants shown. Arrange full-size paper placeholders first, then add the period label above the group.
Centre: one large portrait
A face photo at 8 by 10 inches in the middle, where people look first, with a margin of plain board around it.
Middle rows: work, family, places
Group copies around the main portrait by period or activity. Vary print sizes to keep the important faces clear without covering labels.
Bottom band: later years
Recent photos, including ones with people who will attend, along the bottom edge where those sitting nearby can see them.
Questions
How many photos go on a funeral photo board?
There is no fixed count. Make full-size paper placeholders for your board, allow space for labels, and check that the smallest faces can be seen from the viewing distance.
Can the same photos be used in a slideshow?
Yes. Scan everything once at the start and the same files make the prints and the slideshow. A screen can show more photos, since size is less of a problem.
What happens to the board after the service?
The family usually keeps it, or takes it apart and gives prints to relatives who asked. Removable mounts make either easy.