
Make a book from children's artwork
Choose the artwork, photograph each piece with its edges visible and arrange the images by year or subject. Keep the child's name and date with each file, then check the book before ordering a copy.
Start with 40 pages free. No card needed.
Start with a manageable collection rather than photographing every drawer at once. Let the child help choose what to include where they want to.
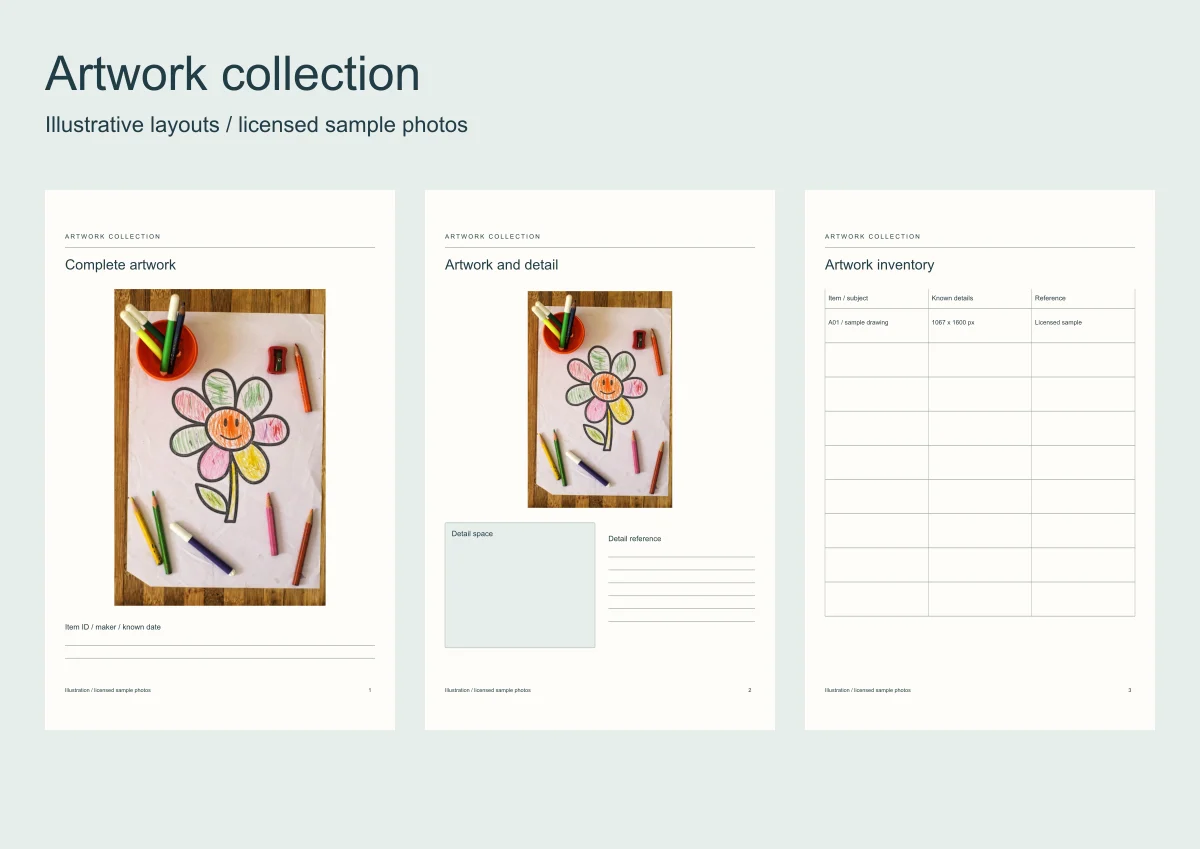
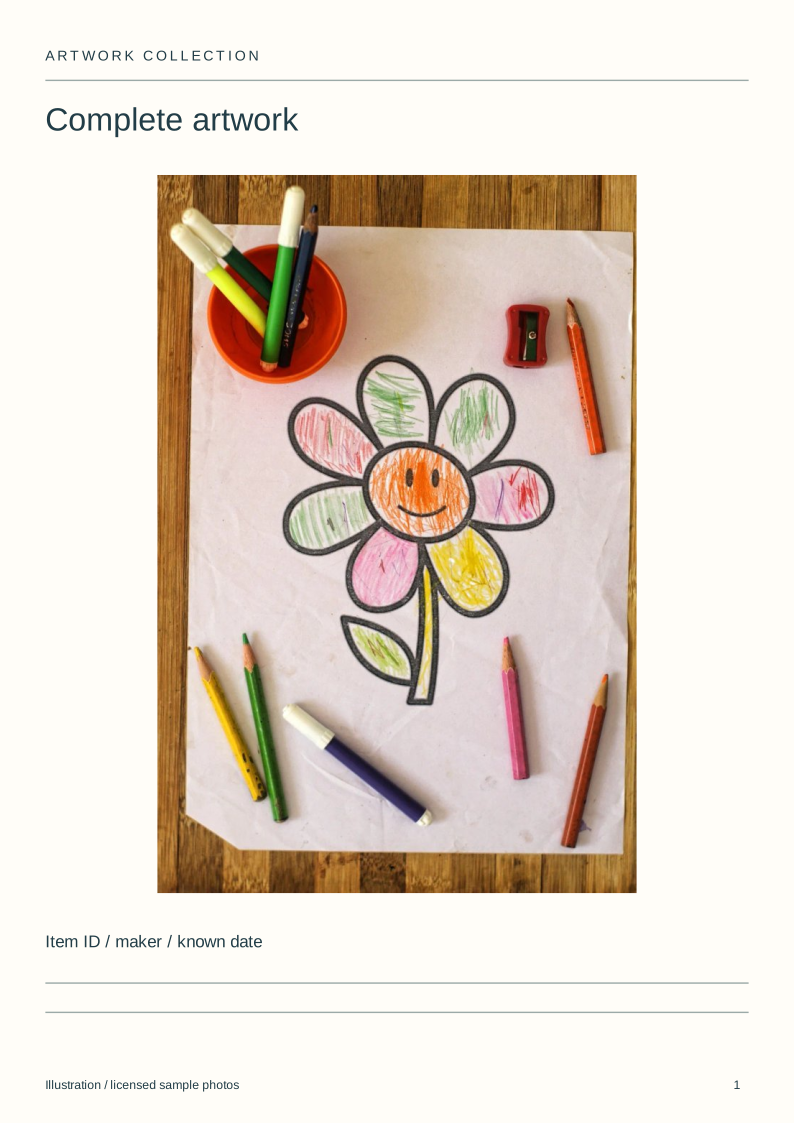
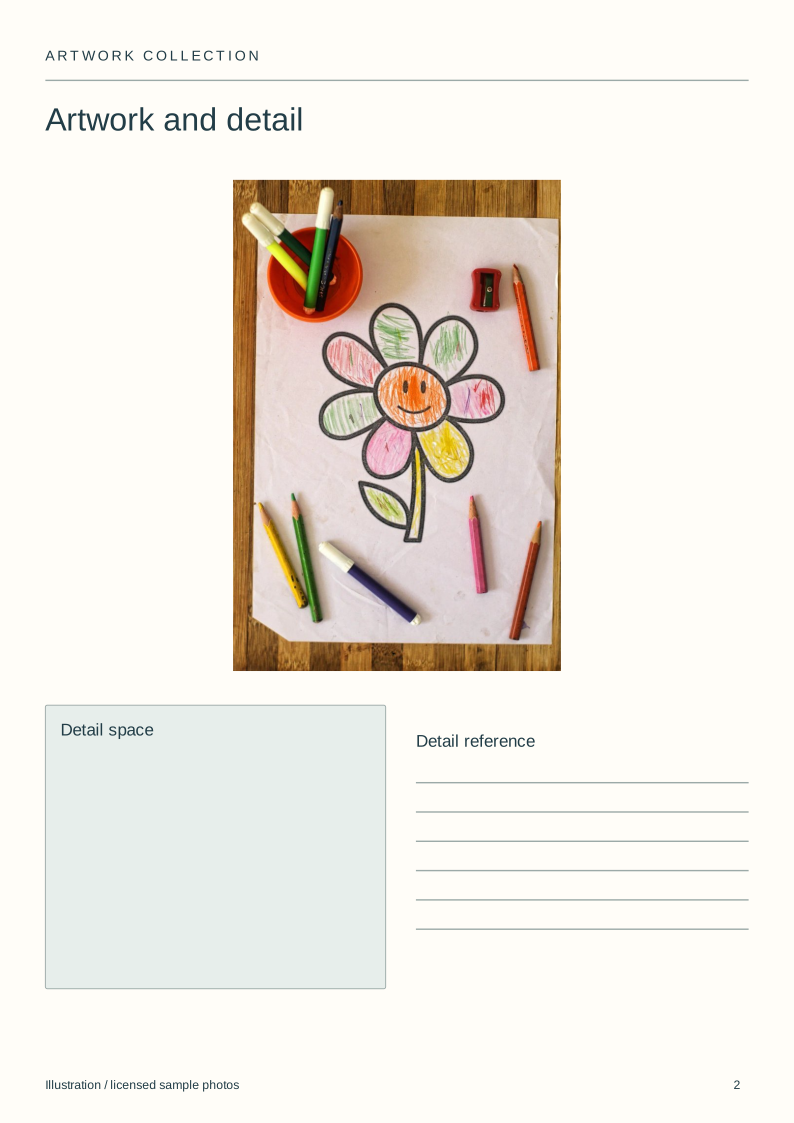
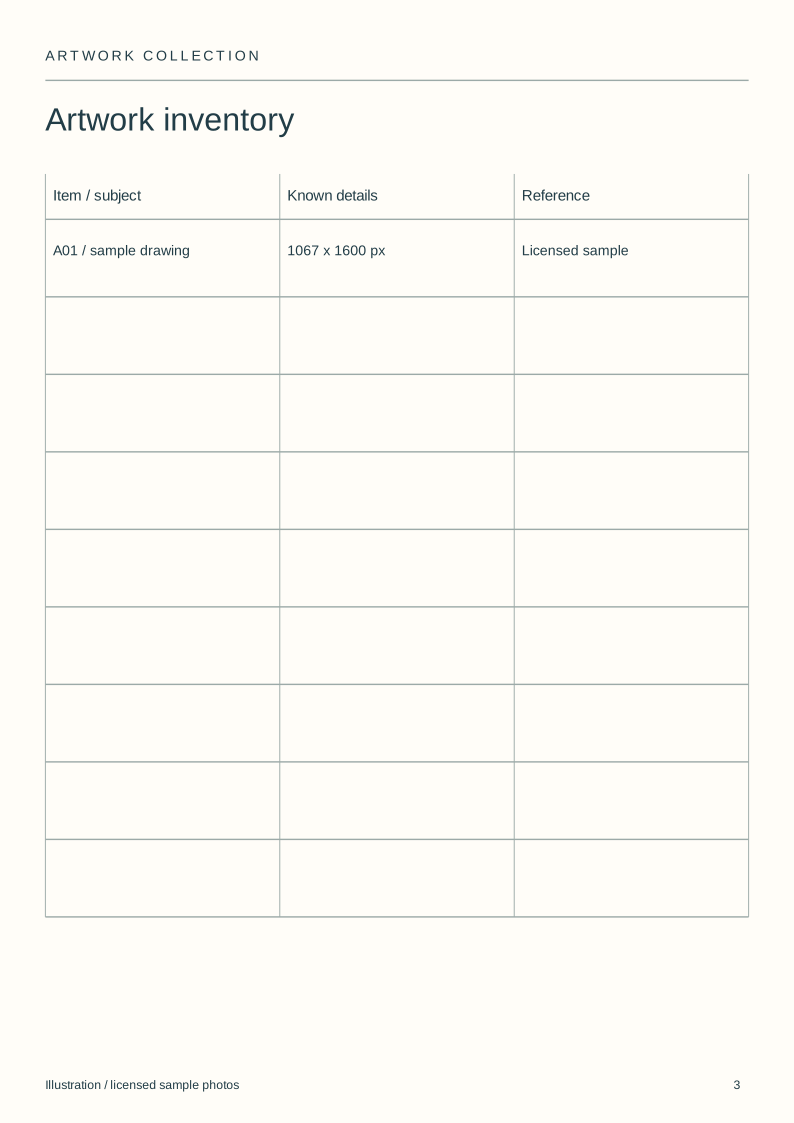
The downloadable layouts leave room for a full artwork, a detail and factual labels. The flower example uses a licensed sample photograph; it is not a customer collection or a scan we made.
Make a memory book
Add photos and your own words, or invite people to send their memories for the book.
| Item ID | Capture | Record |
|---|---|---|
| Drawing | Complete front and any written reverse | Maker and known date |
| Painting | Full view plus a useful detail | Medium and dimensions |
| Collage | Front and an angled view | Parts that project from the surface |
| Model | Two or more different views | Which view belongs first |
| Unknown item | Complete view before cropping | What is known and what is uncertain |
Download the blank layouts
Free original SVG files. Edit a copy in a vector editor or print it. These are separate files, not native tbf book templates or fillable PDFs.
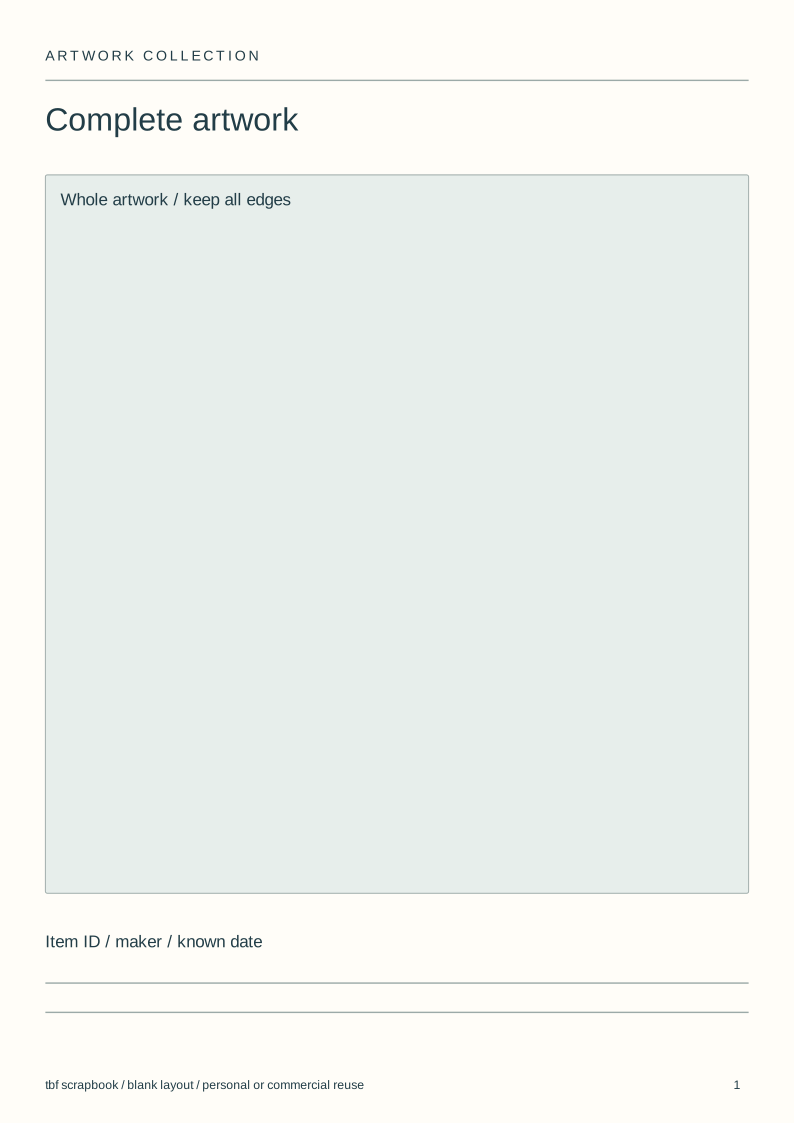
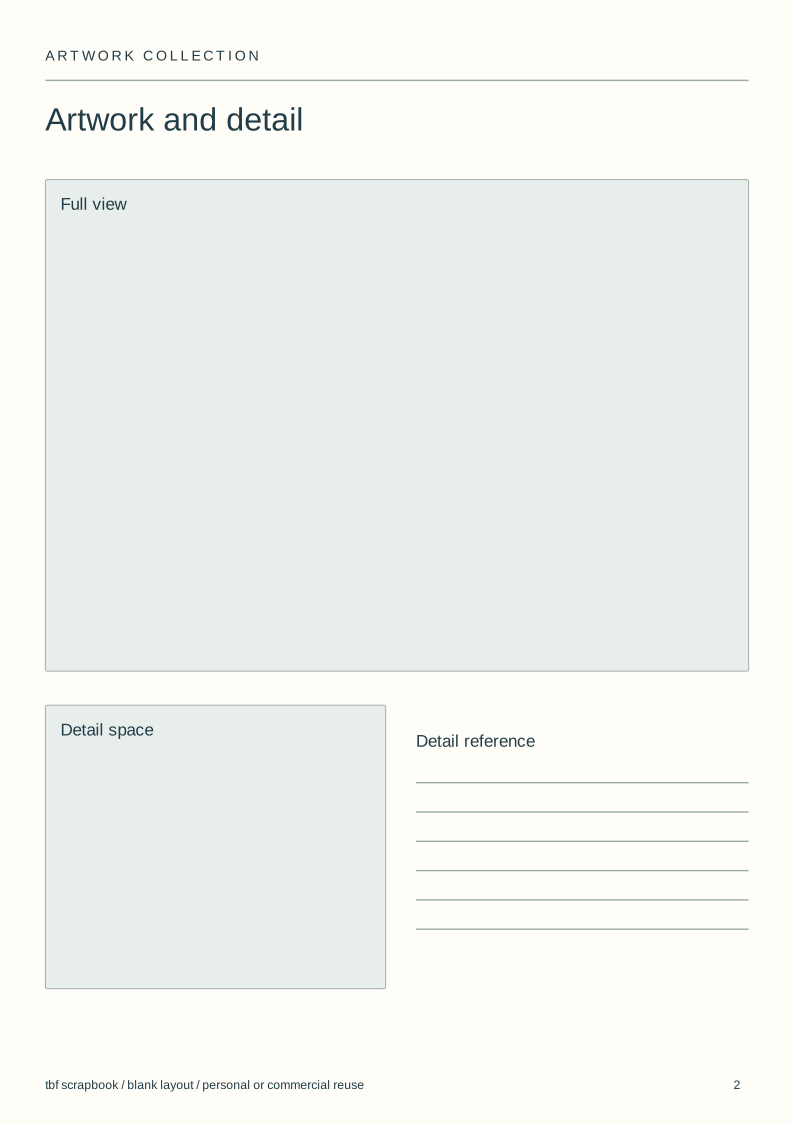
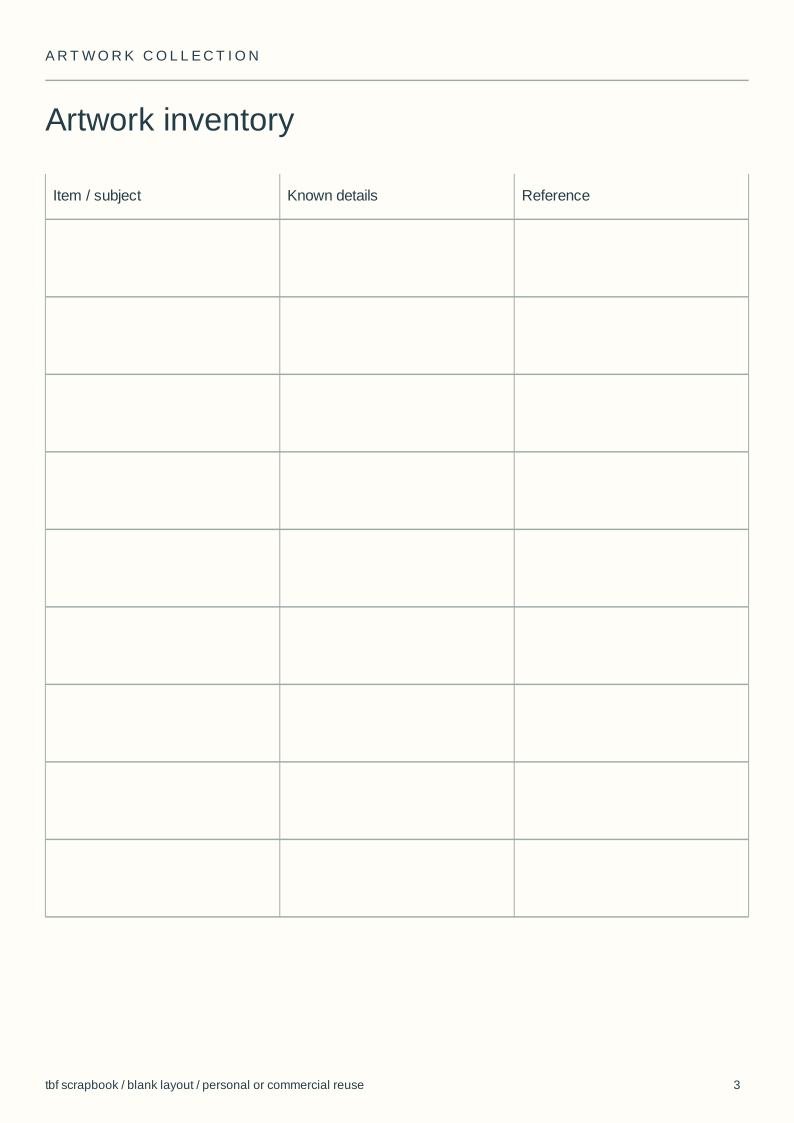
Use and adapt the original blank designs for personal or commercial work, without attribution. Added images keep their own rights. Check a print at actual size before making a batch.
View the complete illustrated layout
Illustrative layouts using licensed sample photographs. These show page structure, not an actual wedding, class, family history or trip. Personal writing stays empty.
Choose a collection with a boundary
One school term, a year or a particular project gives the book an end. Photograph any writing on the reverse before deciding whether the original will be stored elsewhere.
Give every item an identifier. A simple number keeps the full view, reverse and detail images together even after the book order changes.
Keep a complete view of the work
For flat drawings, place the camera parallel to the paper and use even light. Include the edges in the first capture; a later crop should not become the only record.
A clay model or collage may need several views. Show its depth separately rather than flattening every object into a close crop.
Choose DIY or a service that handles originals
A DIY book means you photograph and arrange the work. Artkive and Plum Print describe services that receive artwork and prepare images and a book proof.
Compare the whole service: transport, photography, editing, book, digital files and return of originals. Do not treat a box deposit as the final price of the book.
Make labels that remain useful
Keep names, dates, materials and any explanation the child gives in their own words. Leave an unknown date unknown rather than guessing a year for a tidy timeline.
Use one large image for a detailed painting. Group small drawings only when the marks remain visible at the size of the finished page.
Pages to make
Set the boundary
Choose one year, term or project for the first artwork collection.
Number the originals
Keep each item number with all its photographs.
Arrange the pages
Use a full-artwork page before adding detail crops.
Check against the work
Compare the book images with the originals before approving the proof.
Questions
Can I turn children's drawings into a book myself?
Yes. Photograph or scan them, keep the identifying details and place the images on book pages. You remain responsible for capture quality and the final proof.
Should I keep every original after making the book?
That is a separate decision from making the book. Keep the items you want, and make sure any borrowed originals are returned to their owner.
Is the example real customer artwork?
No. It uses a licensed sample photograph of a drawing to show page arrangement. The blank downloads contain no child's work or personal account.