
Photo book layout: one hero, grids and white space
Plan two facing pages at a time. Give one photo per spread the most space, line the rest up on shared edges, keep faces out of the fold, and change the photo count from one spread to the next.
A reader sees two pages at once, so a page that looks fine alone can clash with the page facing it. Design the spread as one picture.
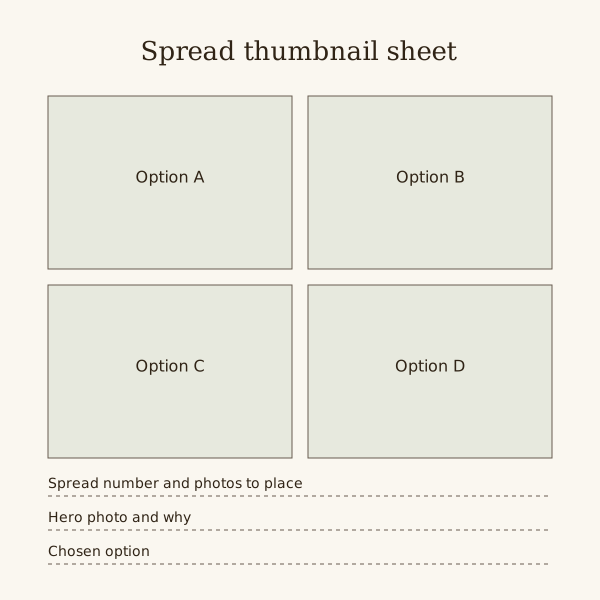
Before placing anything, sketch three or four small options for the spread and pick one. The thumbnail sheet below has four boxes, each close to the shape of an open A4 portrait book.
Make your photobook
Arrange your photos on A4 pages, check the proof and order a printed copy.
Choose the hero before the grid
Most spreads work best with one photo clearly larger than the rest. Pick it by asking which photo would still make sense if it were the only one on the spread.
Make the hero at least twice the area of any other photo nearby. When sizes are close, the eye hops between them and settles on none.
Some spreads have no hero: party guests or market stalls of equal weight. Those take a grid, every photo the same size.
Line things up across the fold
Pick one top line and one bottom line for the spread, and make photos on both pages start or end on them. Edges that nearly line up look like mistakes.
Choose a gap size for your sketch, then apply it consistently. Check the printed safe areas separately; a neat 5 mm gap between photos says nothing about the required distance from trim.
Faces, eyes and the gutter
The gutter is the centre join. Use the binding's fold and safe-area guides to keep eyes, faces and text visible; no single millimetre clearance covers every photo book.
Place people so they look into the spread. Someone facing left belongs on the right-hand page, looking across the book rather than out of it.
A single photo across both pages needs its subject well to one side, with sky, water or a wall at the centre.
White space is a block, not leftovers
Leave empty space in one generous area, such as a whole quiet page or a wide band under a row, rather than thin gaps scattered between photos.
A spread with one small photo and a lot of plain page reads as a pause. Put one after a crowded spread or before a new chapter.
Pace the whole book
Write the photo count of each spread in a row, such as 1, 4, 2, 6, 1. Long runs of the same number feel flat, and a sudden 9 after several 1s feels like a change of subject.
Save the strongest heroes for right-hand pages at the start of a chapter, where the turn of the page reveals them.
Write the original file name in every thumbnail box and mark the crop direction. Before placing the real photos, check that each face remains visible in the smaller frames as well as the hero.
Steps
Hero left, pair right
On an A4 portrait spread, a 3:4 portrait at 185 by 247 mm on the left. On the right, two landscapes at 185 by 121 mm, stacked with a 5 mm gap to match its height.
Even grid across both pages
Four 3:4 portraits on each page, every one 90 by 120 mm with 5 mm gaps. Each block is 185 by 245 mm, and both start on the same top line.
One quiet page
Right page: a single 3:2 landscape at 120 by 80 mm, centred a third of the way down. Left page: plain, or the chapter title alone.
Panorama over the fold
Sketch a wide photo across both pages with its subject in an outer third. Recheck its crop against the exact binding's centre guide before using it as a full spread.
Questions
How many photos should go on a photo book page?
There is no fixed number. One to four a page keeps faces a good size on A4; go higher only for small detail shots of equal weight.
Should a photo cross the middle of a spread?
Only one whose centre can be lost, such as a view with sky or water in the middle. Never a face, a group or a line of text.
Should every page look different?
No. A few repeated layouts with the same margins look deliberate. Change the layout when the photos call for it, not to add variety for its own sake.