
Photo book templates: a free spread planning sheet
Download the spread planning sheet to assign photos and your own text before using an editor. It is a sketch aid, not a print-ready book file or a template installed inside the studio.
Most photo book templates are tied to one book size. A layout drawn for an 8 by 8 inch square changes shape on an A4 page, so start from a plan made for the book you will order.
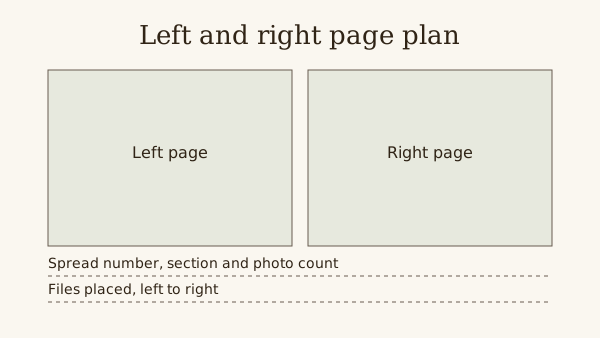
Use the two boxes below as left and right page placeholders. Number one sheet per spread, then recreate the chosen layout at your book's actual dimensions.
Make your photobook
Arrange your photos on A4 pages, check the proof and order a printed copy.
What a paper plan is for
Sketching is quicker than dragging photos about on screen. With every spread on paper you can see the whole book on the floor, spot repeats and move spreads before any work is lost.
The boxes are placeholders, not scale drawings of A4 pages. Write the real page size, orientation and safe-area measurements beside them before sketching.
Fit the template to the photo count
A slot holds one photo. When the count does not match, change the template rather than forcing the photos.
- One photo too many: move it to the next spread, or drop the weakest.
- One too few: merge two slots into one larger slot instead of leaving a gap.
- A portrait photo in a landscape slot: turn the slot upright or swap the photo, never squash it.
- A 4:3 photo in a 3:2 slot loses about 11 per cent of its height to the crop.
- The same photo in a square slot loses a quarter of its width.
Keep clear of the trim and the fold
Obtain the safe area from the printer for your chosen binding and page count. Mark it on the sketch; a fixed distance cannot be assumed for every product.
A full-page photo has to extend past the page edge by the bleed the printer asks for. On the paper plan, draw that extra band in a different colour.
The fold between the two pages hides a strip of each. Leave the centre of the spread to plain background, or to part of a photo that can be lost.
Build a small set and reuse it
Most books need only four or five spread layouts. Draw each once, give it a name, and write the name on later sheets instead of redrawing it.
A different layout on every spread makes a book look busy. Keep the margins and gaps the same throughout, even when the number of photos changes.
Keep a short inventory on each sheet: original file names, planned crops, text still to write and permission still to check. A named empty box is easier to resolve than a forgotten photo.
Steps
Print and number
Print one sheet per spread, plus spares, and number them in the corner. A 40-page book needs about 20 sheets.
Sketch boxes in pencil
Draw each photo as a box with an arrow for its shape, up for portrait and across for landscape. Write the file number inside the box.
Lay the sheets out
Put every sheet on the floor in order. Look for long runs of one layout and for two crowded spreads side by side, then move or redraw.
Build on screen from the sheets
Recreate each spread in your editor, one sheet at a time, and tick the sheet once its spread is done and checked against the margins.
Questions
Can I use a square template for an A4 book?
Not unchanged. A square layout stretched to A4 distorts, and one kept square leaves bands of empty page. Redraw the boxes for the A4 shape.
What is bleed on a photo book template?
A band beyond the page edge that a full-page photo must cover, so trimming leaves no white line. The printer's file rules give its width.
Is the spread plan drawn to scale?
No. It is a planning sheet with page placeholders. Recreate the layout using the exact page dimensions and guides supplied by your chosen printer.